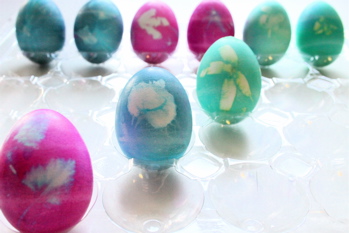
Botanical Easter eggs are a family tradition. Modified for modern schedules; this is the first time dye was used. [the onion peel technique was abandoned] The imprint of the plants will remain in white. The clipping prevents the color from saturating the white surface it is covering. So you are left with artistic eggs- no two are alike.
Ingredients:
One dozen boiled eggs
Food Coloring or Egg Dye
Tights/Pantyhose
Twist Ties
Tall Drinking Glasses* [optional]
Various Plant Clippings: leaves, flower petals, ferns, grasses, etc
Ingredients:
One dozen boiled eggs
Food Coloring or Egg Dye
Tights/Pantyhose
Twist Ties
Tall Drinking Glasses* [optional]
Various Plant Clippings: leaves, flower petals, ferns, grasses, etc
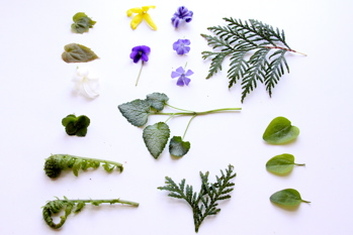
Start by searching for clippings outside. All age ranges can participate. The best botanical contenders are tiny and flat; some work better than others- just experiment! A basket will help contain the specimens as you gather them. Point out names of plants and flower to sneak in a learning op. Unnecessary [but easier] if you briefly place them between the pages of a heavy book to help flatten them.
Hard-boil your eggs by bringing enough water to cover eggs to a rolling boil. [around 'medium'] If heat is too high, they will fissure. They should be finished after 9 minutes- definitely 11; depending upon your stove situation. Empty the hot water, replacing with cold water until the eggs are chill. Now dump that water... except for ½."
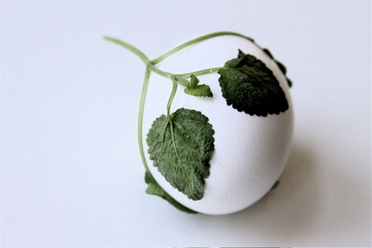
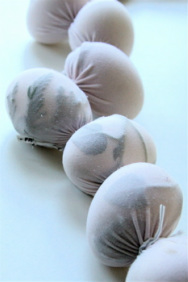
Bring the plant clippings to your work area. A wet [but not dripping] egg works best for the next step: place a clipping onto the surface of the egg. Blossoms should not be wet themselves as the petals will wilt, but most other types of plants can be wet prior to egg placement. The water acts like an adhesive.
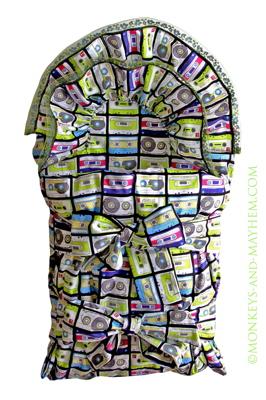
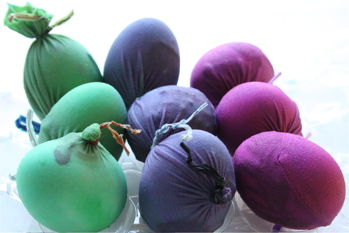
Enlist a helper, as this part can be tricky: roll the pantyhose to the 'toe' and, using both hands, grab two ends & pull apart to create an opening for the egg. Now place your egg at the bottom and twist pantyhose- fasten with a twist-tie to seal the deal. Repeat steps until all eggs are done. Your eggs will create a 'caterpillar.'
Additional Info: Decide the number of eggs you would like a particular color, using 3 eggs as an example. After you complete twist-tying 3, leave a two-inch space. Now place a twist-tie after the second inch. Start placing the next set of 3 eggs into the tights.
Each set of colors should be separated by the two-inch space- otherwise there should be no space between the eggs. Use scissors to cut in-between the spaces.[If you would like all of your eggs to be the same color, disregard]
Each set of colors should be separated by the two-inch space- otherwise there should be no space between the eggs. Use scissors to cut in-between the spaces.[If you would like all of your eggs to be the same color, disregard]
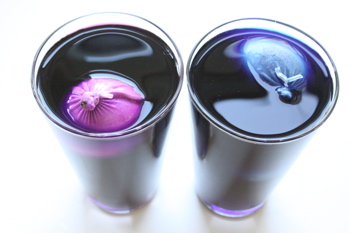 |  |
*To dye more than one color of egg, use tall drinking glasses. Approximately three eggs will fit into each glass. Prepare color according to specifications listed on packaging. Submerge eggs into glass. Amount of time eggs remain in glass depends upon your personal preference.
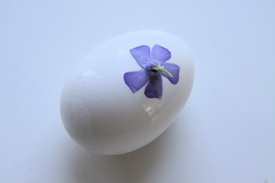
After removing eggs from glass, carefully cut the encasement from the eggs. Allow eggs to dry. The finished product is pictured below.
 RSS Feed